 by Steven D. Johnson
Racine, Wisconsin
This month:
•
Prepping for the Installation of a Central Dust Collection System (Pt. 2 of a Series)
•
Knock On Wood
•
Woodworkers --- The Last Remaining Artists?
•
Next Month in The Down to Earth Woodworker Workshop
The Dust Collection Series – Part Two
Click on any picture to see a larger version.
If the remodeling business is your gig, you deserve accolades… and a heaping helping of respect. Every single aspect of building the first floor of my shop was enjoyable. There wasn't much there… it was a blank canvas. A wide-open space, it was easy to work in. But with tons of "stuff" in the second floor attic area, it has been less than enjoyable finishing that space. Doing anything has required moving something… often many "somethings." Rerouting wiring in existing walls is a chore. Peeling back insulation is frustrating. Slapping on paint is so much easier when there is no need to mask or cut-in around something. Installing a few extra floor joists was an exercise in contortionism, a lesson in applied physics, and a chance to use many expletives in colorful combinations. New construction is infinitely easier than remodeling.

|
Figure 1 - Don't let anyone tell you otherwise... wiring is
easier to do before the walls are up!
|
The first step was to complete the wall (roof) sheathing. Doing that required removing some temporarily installed fluorescent lights first and running new wiring. Doing that required removing some of the wall sheathing and insulation. Doing that required moving everything in the upstairs area to make room. Remodelers, you know the drill!
Remodeling opens up a world of possibilities but also invites budget-busting additions and change-orders. Great if you are charging a customer, not so great when you are trying to conserve your own precious funds. Rewiring? Why not put in an additional light fixture? An extra switch would be nice, too. Pulling insulation? Why not foam-in some drafty areas and add another layer? Putting up trim to cover some poorly cut joints? Might as well do some purely cosmetic trim work. Painting? Two coats are better than one… three is even better, especially on OSB! But it's a shop, for crying out loud!

|
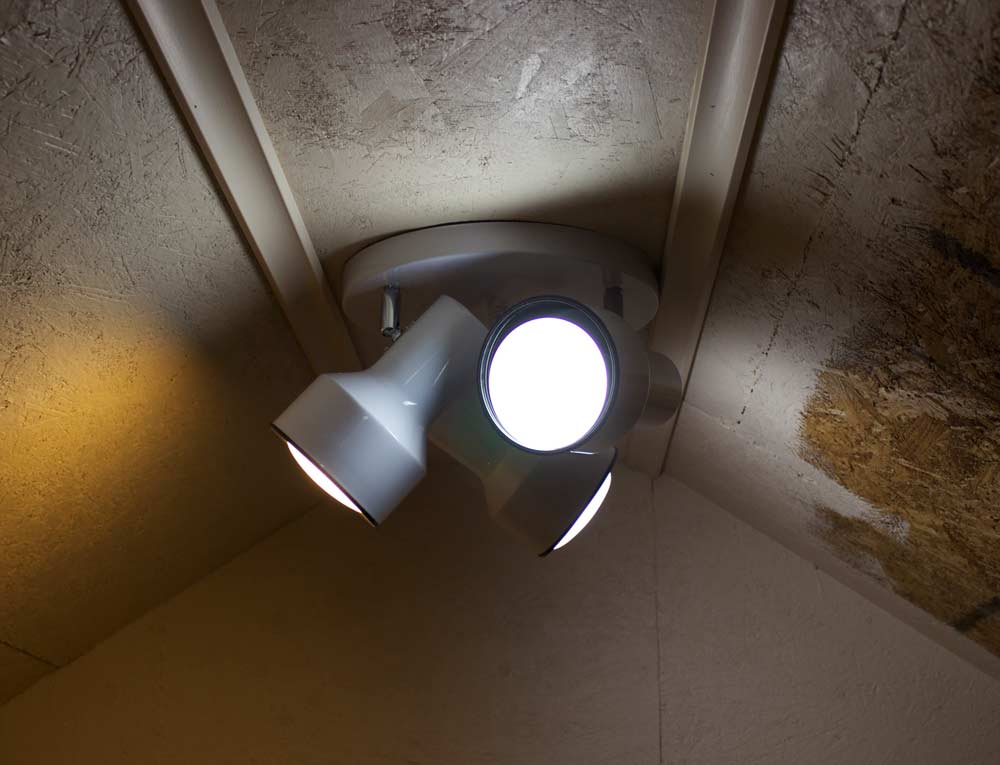
Figure 2 - For ~$20 and a little effort, this extra light
was worth it.
|
In the end, I did decide to add one additional light but nixed the extra switch. No compromises were made on the additional insulation, but that was easily justified by winter heating bills. I spent a day doing trim work, but mostly used leftover pieces already on hand. I settled for two coats of paint, but I rolled it on pretty heavily.
With all the moving, rearranging, and working around things, the masking and covering before painting, and the disassembling before reassembling, the preparatory work in the upstairs area of the shop took several days. And delivery day for the new dust collector was tomorrow. Here is where the story might turn: "Best laid plans…" or "Murphy strikes again…" or "What rotten luck!"
Delivery was scheduled for "sometime between 8 AM and 1 PM." At precisely 7 AM it started snowing, about an inch an hour. I had been told that the driver would not pull into the driveway and that he had only a pallet jack to move the crate, and whether or not he would move the crate once it was out of the truck and on the ground was totally up to the driver. Starting at 8 AM, I shoveled a path about ten feet wide by 165 feet long to make way for the pallet jack, hoping I could talk the truck driver into helping me move the crate into the shop. I shoveled again about 9 AM… then again at 10, at 11, and at noon. By one o'clock, no truck… still snowing… still shoveling.
At precisely ten minutes after one, the truck pulled up, carrying one large pallet. As we prepared to move it to the lift gate, I spied a label saying the crate contained 260 boxes of #10 envelopes. Worthwhile items, of course, but not for sucking up woodchips and dust. The driver scratched his head, muttered a few choice phrases, blamed the whole fiasco on the dockworkers that loaded his truck, and plowed off, back to the terminal.
About an hour and a half later (and two more trips up and down the driveway with the snow shovel), he showed up with my crate. Contrary to company policy, he backed his truck right down the driveway and to within 15 feet of the double doors into my shop. Glad I shoveled that pathway… seven times!
He lowered the crate to ground level with his lift gate and we used the pallet jack to push the crate right up to my door. Unfortunately, the pallet jack would not go over the threshold and was about an inch shy of being high enough for us to slide the crate off and into the shop.
Fortunately, the delivery driver was a sporting sort… or perhaps he just felt bad for bringing me a hundred and thirty thousand envelopes. He helped me unpack the crate in the driveway and carry all the components into the shop.
I had estimated the size of the pallet and crate and cleared a space in the corner, just inside the double doors. Now, with disassembled dust collector parts spread all around the shop, moving about and doing the necessary preparatory work became even dicier. The next step in preparing for the installation of the 261-pound dust collector upstairs was to add some additional floor bracing. That meant I would need to move 18-foot long 2 X 6's into the shop, trim them to size, insert them between the existing joists, turn them into a vertical orientation, and nail them into place… all without damaging any of my equipment or my new dust collector.
Eighteen-foot long 2 X 6's are not items that the big box stores carry, so a trek to the lumberyard was necessary. The next morning the temperature had plummeted to -18 with a wind chill factor of -38. I was not too keen on the concept of fishing amongst a stack of 2 X 6's outside, looking for those "just right" boards, so I stayed in my shop for a couple of days and worked on other projects. Finally we got a bit of a heat wave, the temperature jumped up to a balmy +10, and I set out for the lumberyard. Unfortunately, after two days in subarctic temps, my truck would not start.
I unfurled two hundred feet of extension cord, plugged in the battery charger, drank coffee, listened to music, and pondered where and when lady luck had abandoned me. About four hours later the engine cranked. While it warmed, I shoveled a couple of feet of snow from the bed of the truck. It never ceases to amaze me what we will do for our workshops!

|
|
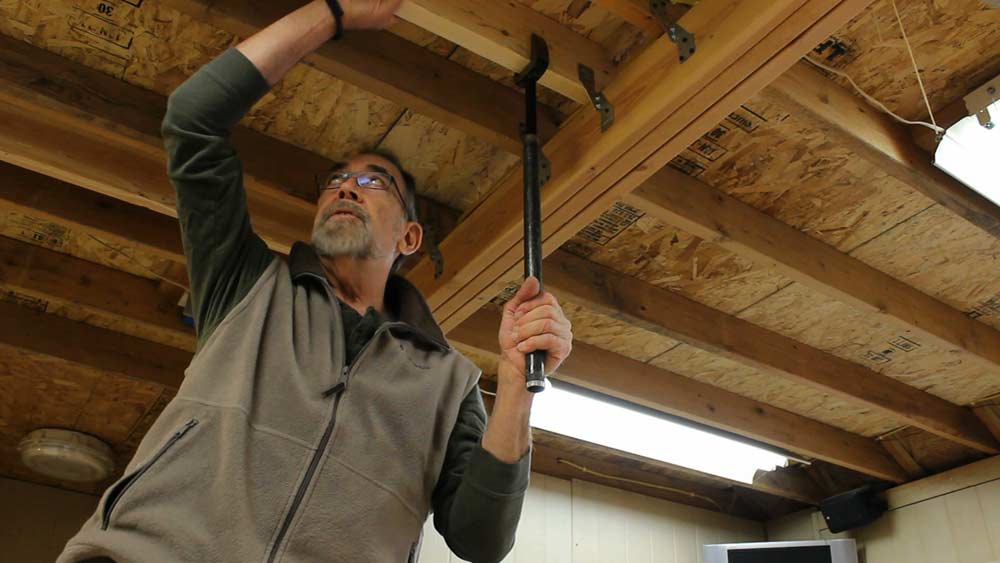
Figure 3 - The key to working alone is leverage!
|
Have you ever felt exhausted at the end of a day and realized you didn't get anything done? As I backed into the driveway with my oversize load, I was tempted call it a day, but I knew I had better get the boards into the shop. Just getting them into the shop without damaging anything seemed to give me a little adrenaline boost. Knock on wood, I could do this!
I trimmed a couple of inches off each board to achieve the needed length, then rested one end on the top plate of the wall. Working from a short ladder, I lifted the other end, bowed the board a bit, and wiggled it into place. Then, to turn the board on edge, I loosened the floor decking above and used a deck builder's board-bending tool and a length of 1-inch pipe for added leverage. After the additional joists were inserted and the floor decking above was reattached there was less "bounce" in the upstairs floor and I felt much better about having the additional weight of the dust collector upstairs. A good day's work!

|
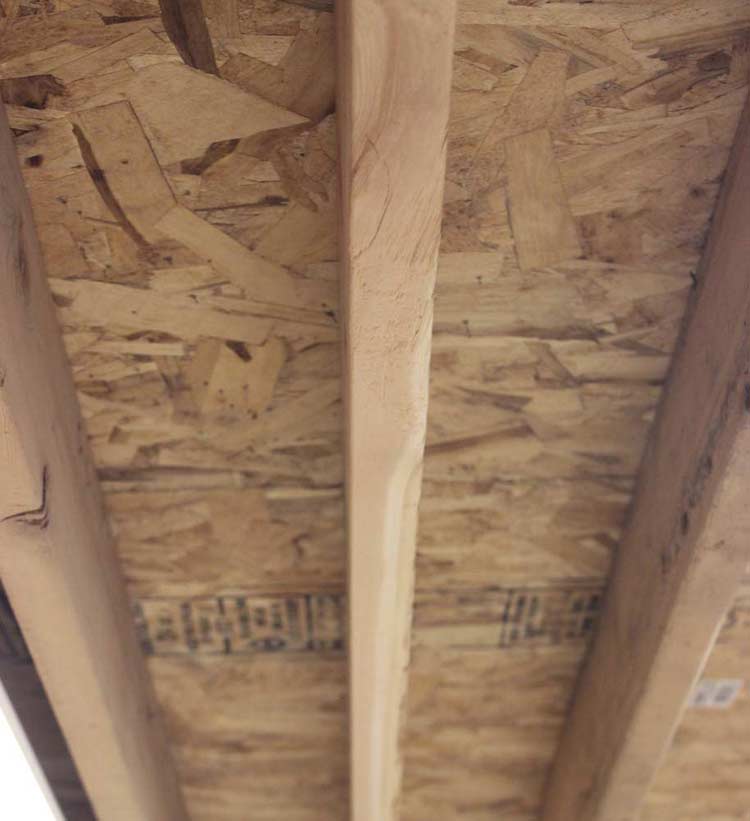
Figure 4 - Eight-inch on-center joists give me peace of mind
with a 261 pound dust collector over my head.

|
Originally, I had envisioned the dust collector at the north end of the second floor, but later decided it was better to install it more towards the middle of the space. The 220 volt power line I had originally run still needed to be moved, but I decided to do that after the unit was installed so the power connection could be positioned as close to the unit as possible.
Preparing for the assembly and installation of the dust collector took longer, cost more, and was more difficult than originally contemplated… pretty much like any remodeling job, I suppose. But my luck would soon turn, because the assembly of the unit went very smoothly. Be sure to check out this month's
video
for a step-by-step overview of all the assembly steps of the JDS 2100-CKV Dust Collection System.
Next month I will run the dust collection pipe network, ground the system against static electric build-up, and soon I will be able to fire the unit up for the first test run and take some performance measurements. Stay tuned!
(Page 1 of 4)
1
2
3
4
Next Page
Return to
Wood News
front page